A Complete Guide To Print Slides To Photos in 2026

If you have cherished memories captured in slides and want to preserve them, knowing how to print slides is essential. Capture is here to guide you through the entire slide printing process with step-by-step instructions. Whether you want to relive old memories, organise your collection, or have convenient access to your slides, this comprehensive guide has you covered.

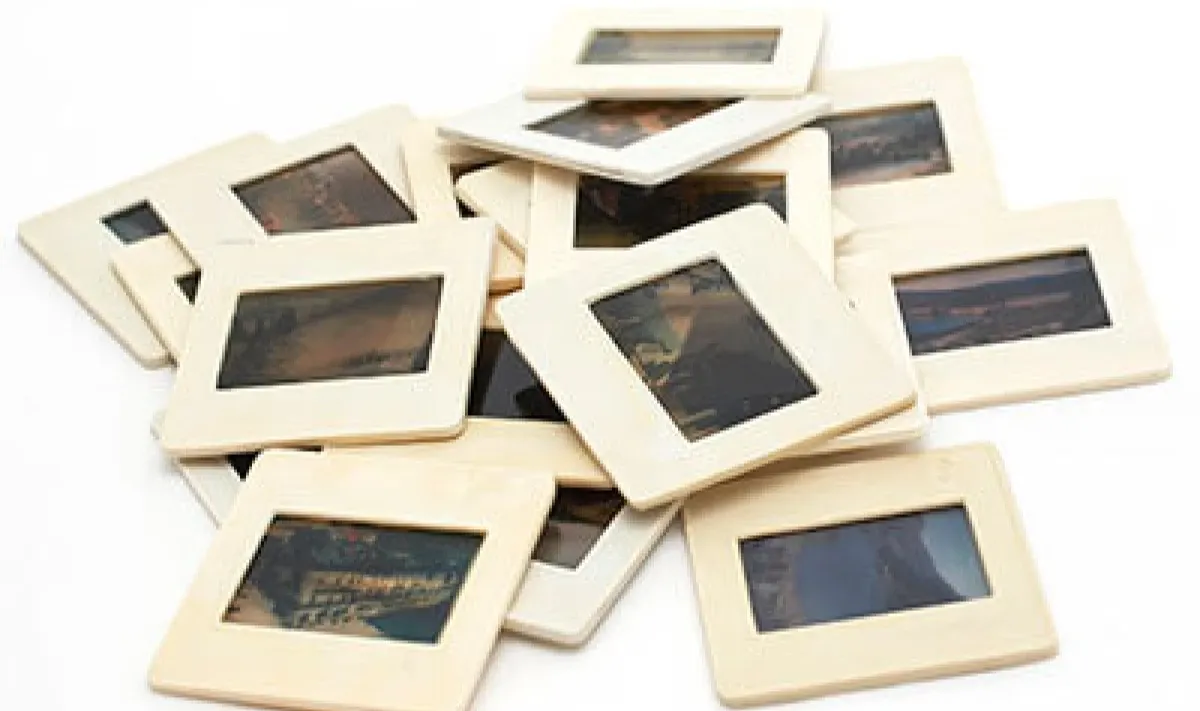
What are slides?
Slides are transparent photographic frames mounted on a cardboard or plastic frame. They are used with slide projectors to display images on a larger screen. Slides were first introduced in the 20th century when photography enthusiasts captured moments on film.
Today, slides serve as valuable artefacts of personal memories and historical events, offering a unique glimpse into the past.
Reasons to preserve slides
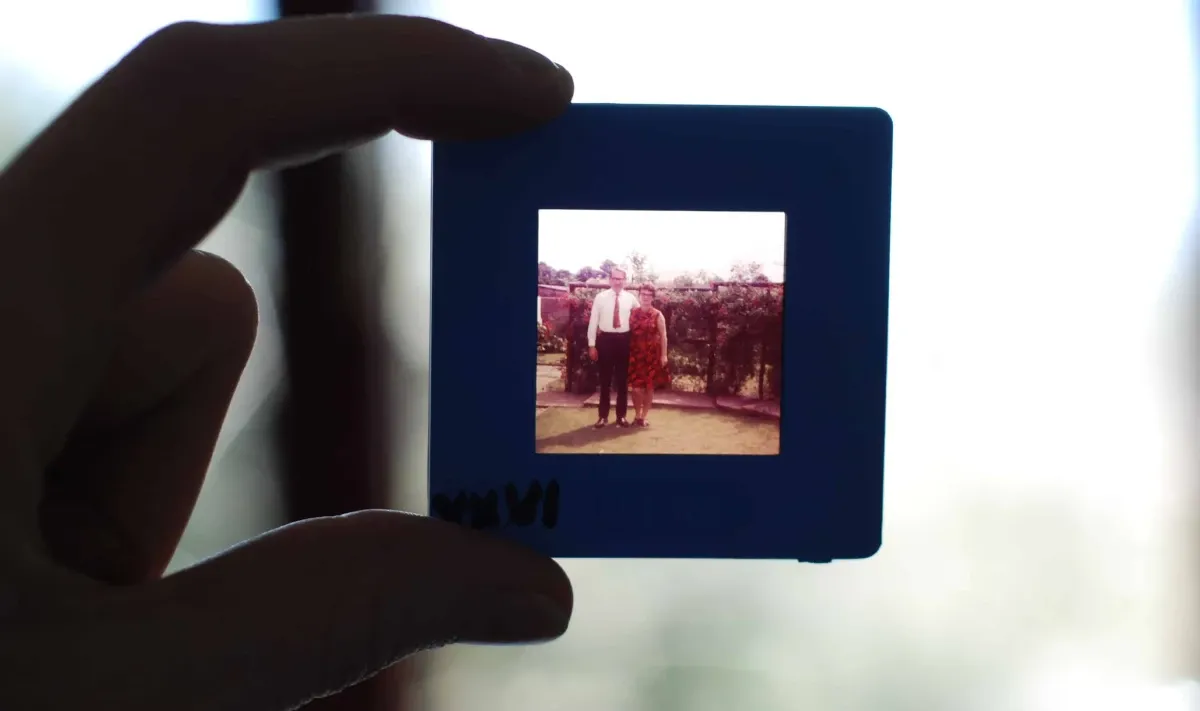
1. Preserving old memories
Slides often hold sentimental value as they capture moments from the past, such as family gatherings, vacations, and milestones. Printing slides to photos ensures these memories can be enjoyed and shared for generations to come.
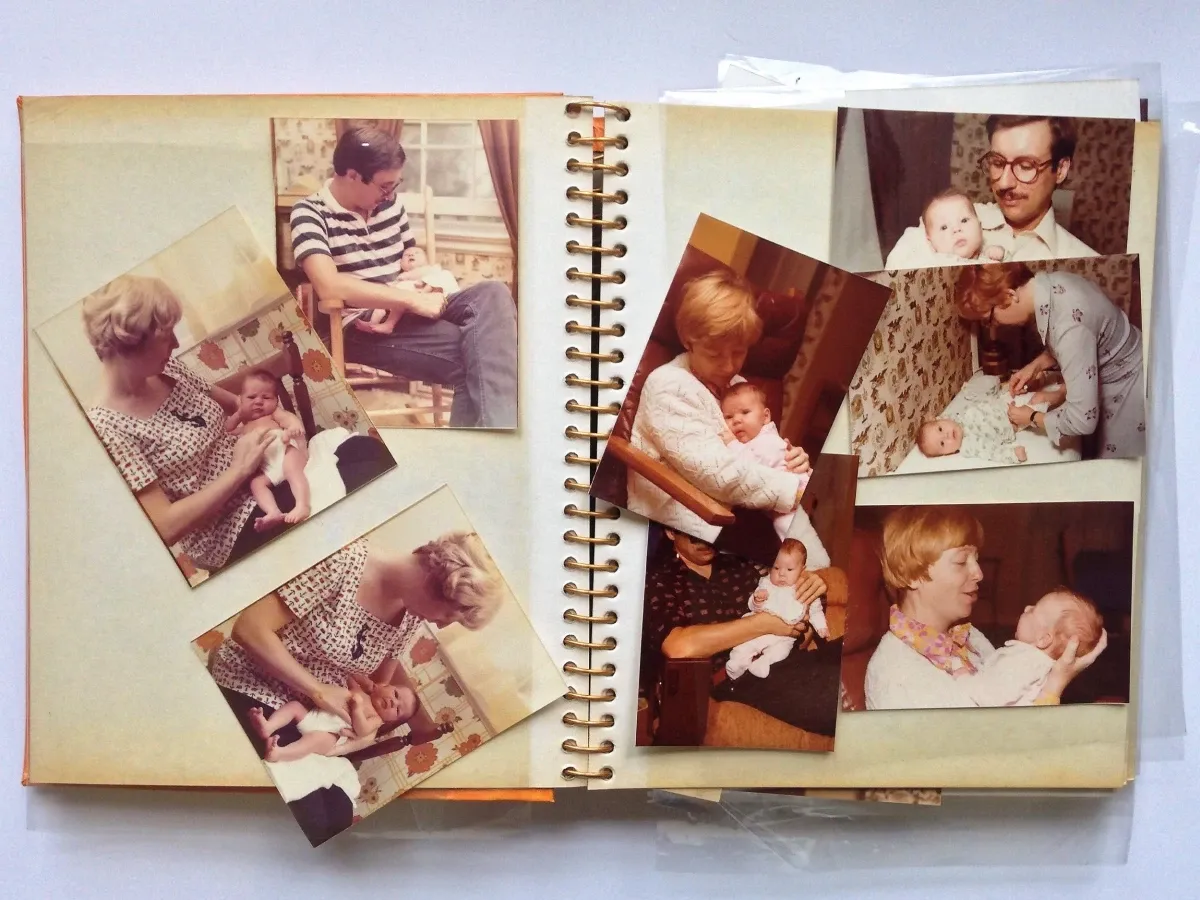
2. Easy to store & maintain
Printed photos can be thoughtfully organised and safely stored in traditional photo albums, elegantly displayed in frames, or preserved in archival boxes. With proper handling and storage practices, photos offer a timeless and enduring way to maintain and protect your slide memories.
3. Better organisation
Converting slides to photos allows for easy categorisation, labelling, and sorting. Whether arranging them chronologically to follow a captivating journey or grouping them thematically to highlight specific events, printed photos offer a tangible means of curating your slide collection. You can add personalised captions, dates, or notes directly to the photos or accompanying album pages, providing valuable context and making it easier to retrieve specific memories with a simple flip through the pages.
4. Can view anytime
While slide projectors become less common nowadays, printed photos can be easily displayed in frames or albums. This accessibility ensures that your cherished memories are always within reach for personal enjoyment or sharing with loved ones.
What do you need to print slides?
Here are three key components you need for printing slides:
1. Slide scanner
A slide scanner is a specialised device that converts physical slides into digital files. It features a light source and a sensor that captures the image on the slide and converts it into a digital format.
2. Scanning software
To operate the slide scanner effectively, you need compatible scanning software. This software lets you control the scanning process and adjust to achieve optimal image quality. It allows you to set parameters such as resolution, colour depth, and file format.
3. Photo printer
Once you have converted your slides into digital files, you need a photo printer to print them onto photo paper. Photo printers are designed to produce vibrant and detailed prints, ensuring that your memories are faithfully reproduced. Photo printers offer various paper sizes and finishes, allowing you to choose the best format for displaying your printed slide photos.
Steps to print the slides
Follow these steps to print your slides successfully:
1. Clean the scanner
Before beginning the scanning process, take a moment to clean the scanner glass. Use a lint-free cloth and an appropriate cleaning solution to remove any dust, fingerprints, or smudges. This helps ensure the scanned images are free from unwanted artefacts or blemishes.
2. Place the slides
Carefully position the slides onto the scanner's designated area, following the instructions provided by the manufacturer. Arrange the slides in the desired orientation, ensuring they are properly aligned and positioned for scanning. Take care to handle the slides with clean hands or wear gloves to avoid leaving fingerprints or smudges on the surface.
3. Scan the slides with proper software settings
Launch the scanning software compatible with your slide scanner. Depending on the software, you can adjust settings such as resolution, colour correction, and file format. Then, press the “Scan” button to scan the images.
4. Print with a photo printer
Once the slides are successfully scanned and saved as digital files on your computer, connect your computer to a photo printer. Load the appropriate photo paper into the printer, then select the desired print settings, such as paper size, orientation, and print quality. Click “Print” on your computer to print your slide images.
Digitise slides effortlessly!
If you don't have access to a slide scanner or prefer a hassle-free option, consider utilising Capture's slide digitisation service.
With our slide digitisation service, we always treat your old slides with care, so you not only get high-quality digital copies of your slides but also get your original slides back undamaged. The process is secure, and the digitised images will be automatically uploaded to Google Photos. Let’s preserve your precious moments for generations to come.
Loading...