【Disposable Camera】How to Get Disposable Camera Photos onto Your Phone
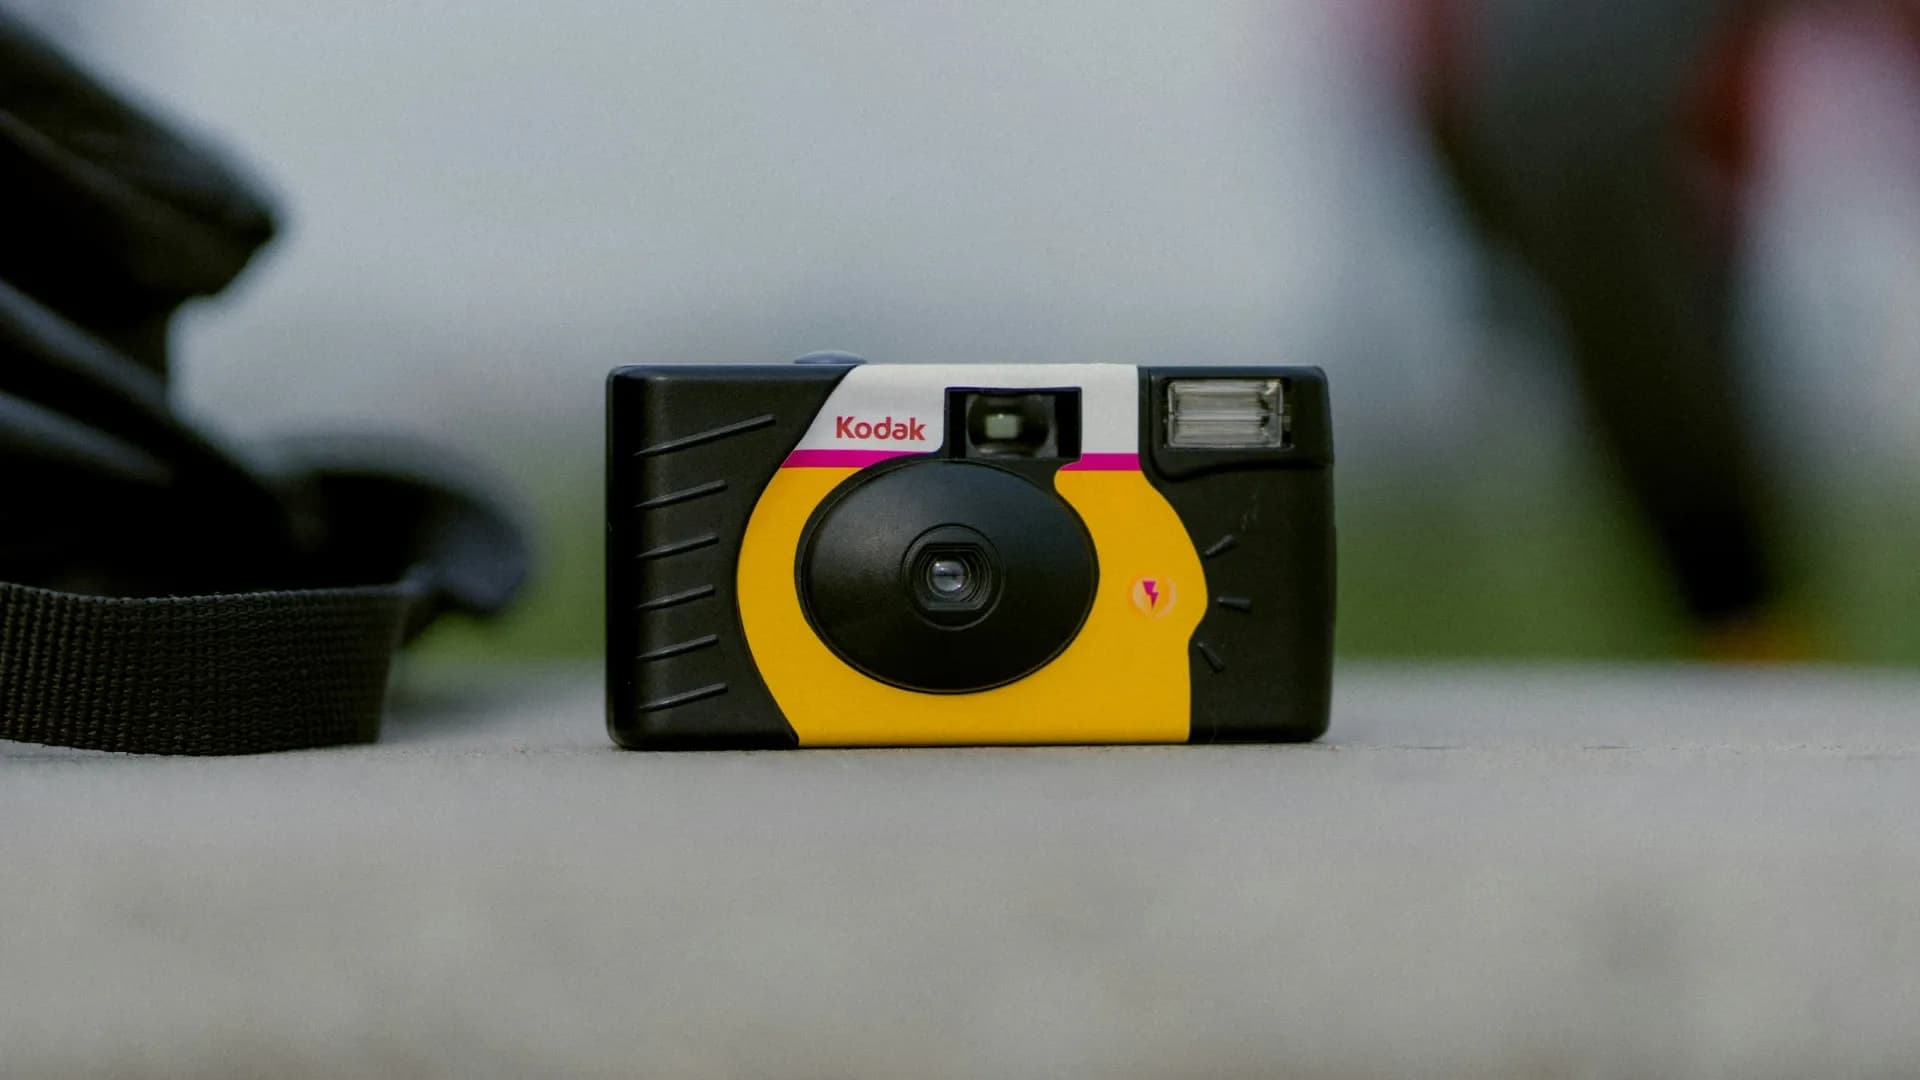
Disposable cameras have had a second life. They turn up on banquet tables at weddings, in backpacks on hiking trips to Lantau, and at graduation dinners, partly because the slightly grainy, flash-lit look is hard to fake with a phone. The catch comes afterwards: you have a plastic camera full of exposed film, and everyone wants the pictures on their phone by tomorrow. Here is the whole route from film to phone, plus what to do if you find an old, undeveloped one in a drawer.
What is inside a disposable camera?
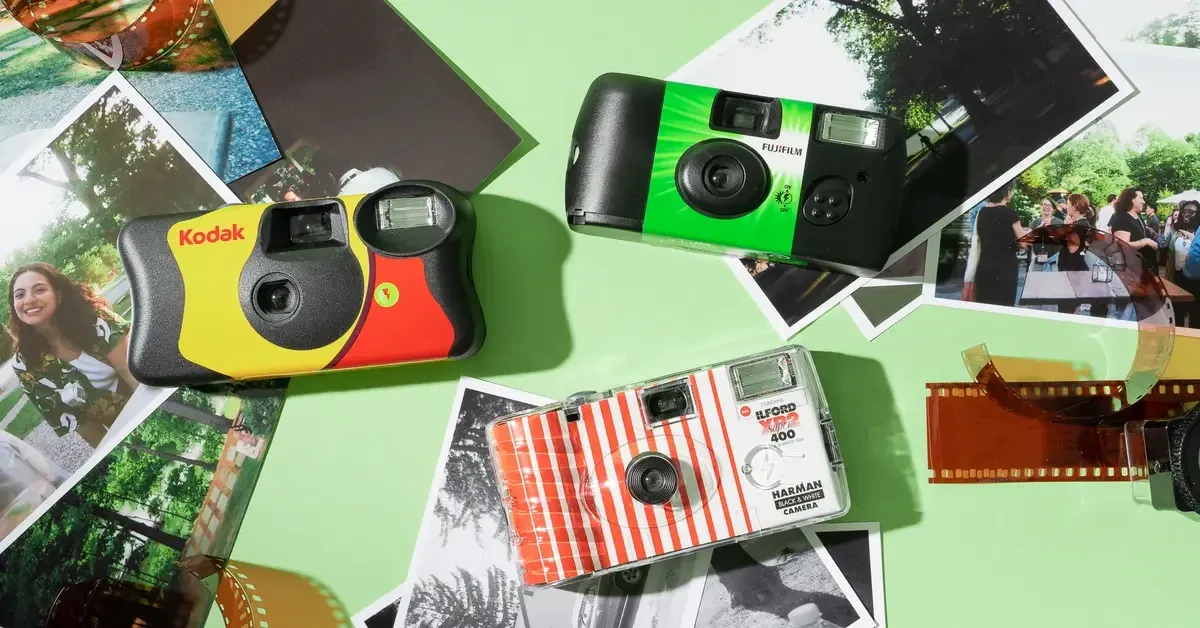
A disposable (single-use) camera is a simple plastic box with a fixed-focus lens, a basic shutter, usually a built-in flash, and a roll of ordinary 35mm colour negative film already loaded. Fujifilm's QuickSnap, launched in 1986, made the idea mainstream, and other brands followed. When you wind on after the last shot, the film is already back in its canister, ready for the lab.
Because the film is standard colour negative film, it is developed the same way as any 35mm roll. That is good news: you don't need a specialist, just a shop that still handles film.
Step 1: Get the film developed
A photo shop that still processes film
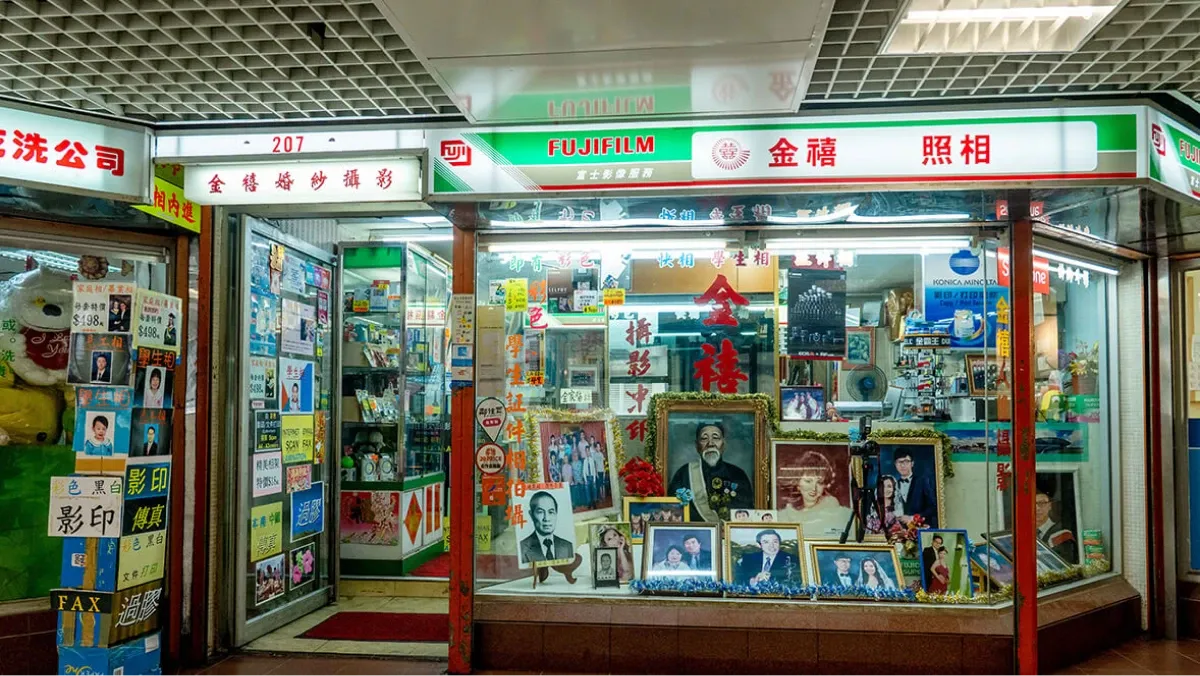
Hong Kong still has a number of photo shops and film labs that develop colour negative film, and interest has grown again with the film revival. Some develop on the premises; others collect rolls and send them to a lab, which takes longer. Hand over the whole camera; the shop removes the film itself. Ask at the counter what you get back, because this decides your next step:
Negatives only: the cheapest option, but you will need to scan them.
Negatives plus prints: nice to hold, and the prints can be scanned later.
Negatives plus digital scans: some shops offer this, either on a download link, by email or on a USB. This is the quickest way to your phone.
Mail-in labs
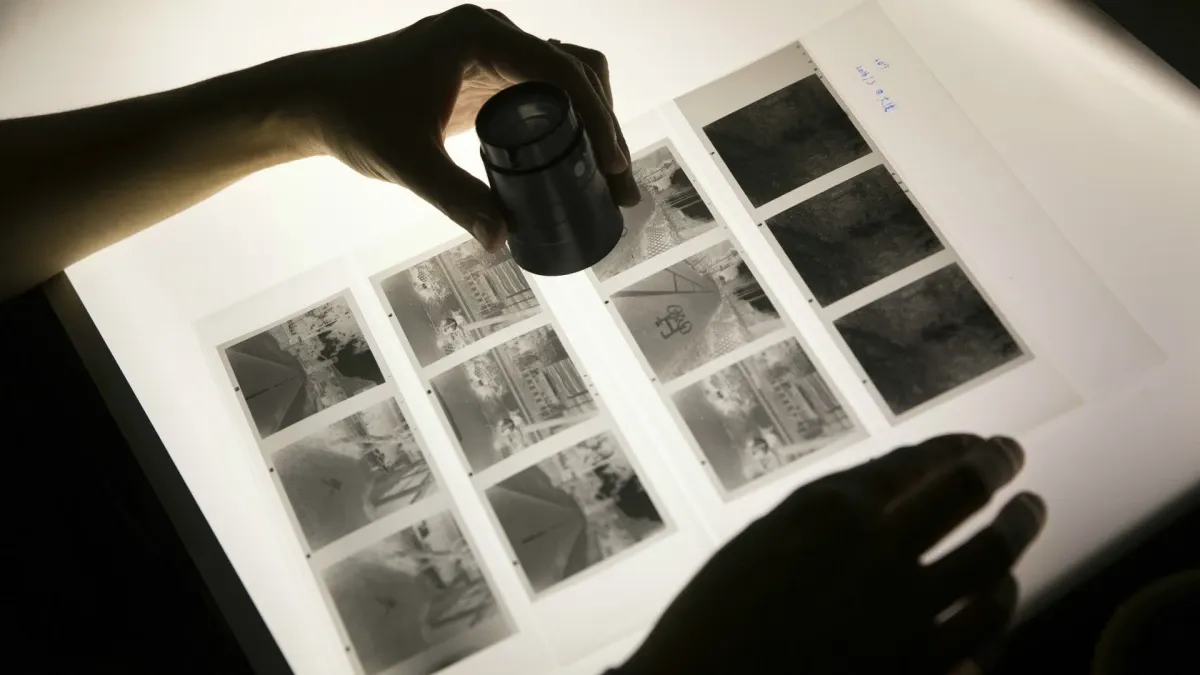
If there isn't a shop near you, some labs accept film by post and send the scans back online. Check the turnaround time, the scan resolution they offer and whether they return your negatives, before you pay.
Developing it yourself

Home developing is possible but fiddly for a first attempt. Colour negative film uses the C-41 process, which needs a light-tight tank, a changing bag and chemicals held at a steady 38°C. You also have to crack open the camera body in complete darkness to get the film out. If the photos matter, let a lab do it.
Step 2: Turn the photos into digital files
If the lab gave you scans, you can skip ahead. If you only have negatives or prints, you have a few ways to get them into digital form.
Scan the negatives. Negatives hold more detail than a small print, so scanning them gives the best result. A dedicated film scanner or a flatbed scanner with a film holder will do it at home, though it is slow work for a single roll.
Scan the prints. A flatbed scanner at 600 dpi gives files that look sharp on any phone screen.
Use your phone. Scanning apps such as Google's PhotoScan can photograph prints and reduce glare. Results depend on your light and patience, but they are fine for sharing.
Have them digitised. If you have a pile of rolls or older family negatives, a digitisation service saves a lot of evenings.
Step 3: Get the files onto your phone
How you do this depends on where the files are now.
Download link or email: open it on your phone and save the images straight to your gallery or Photos app.
USB drive: most recent phones have a USB-C port and can open a USB-C stick directly, or a standard USB stick through a small adapter. Open the drive in your Files app and copy the photos across.
On a computer: upload the folder to a cloud service such as Google Photos or iCloud from the computer, then open the same account on your phone. Or connect the phone with a cable and copy the files over.
Between phones: once one person has the set, AirDrop (between Apple devices), Quick Share (on many Android phones) or a shared Google Photos album gets them to everyone else at full quality. WhatsApp works too, but it compresses photos unless you send them as documents or choose the HD option.
Step 4: Tidy them up
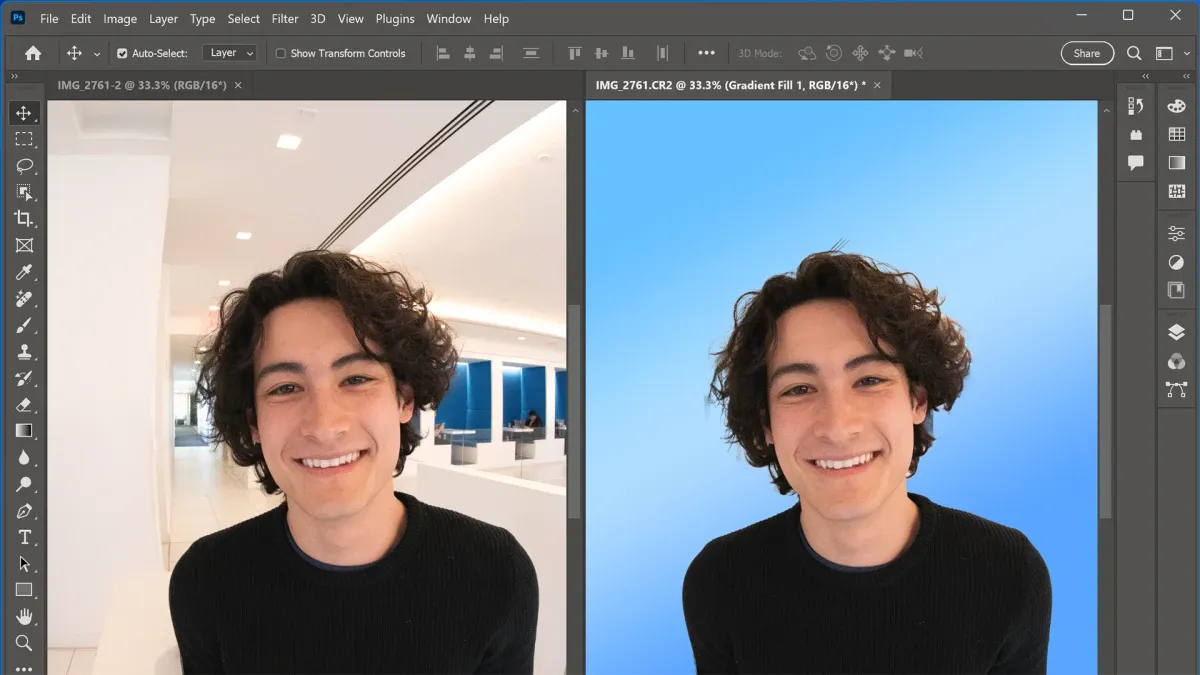
Disposable cameras are not precise instruments, so a few small edits go a long way. Before you start, keep the original files somewhere safe and edit copies.
Straighten and crop to pull the subject into the centre.
Lift the shadows on indoor shots where the flash didn't reach the back of the room.
Warm or cool the colour if the scan has a green or orange tint.
Leave the grain. It is part of the look; heavy noise reduction makes faces look waxy.
Step 5: Share and back up
The joy of film is the wait; the joy of digital is that everyone can have a copy. Make a shared album for the wedding guests or the hiking group so people can add their own rolls. Then back up the originals in two places, for example your phone's cloud library and a USB stick or computer at home. Keep the negatives too, in a dry place: Hong Kong's humidity is hard on film, and an air-tight box with silica gel is a cheap safeguard.
Found an old disposable camera that was never developed?
It is worth trying. Exposed film that has sat for years, especially in heat and humidity, will often show colour shifts and heavy grain, and some frames may be blank, but labs regularly get recognisable pictures from old rolls. Tell the shop it is an old camera so they know what to expect.
Already have the negatives or prints?
Capture HK can digitise them for you. We scan negatives from HK$4 per frame, with dust and colour correction, and prints from HK$3 per photo, all delivered as high-resolution JPGs on a USB or uploaded to Google Photos so they land on your phone without any cables. See our slides and negatives page or the photo digitisation page for details.