[Cassette Tape Cleaning Tutorial] How to Achieve Better Sound Quality?

It’s been a while since cassette tapes were at their peak of popularity, which means you might have some that are 20, 30, or even 40 years old. They’ve probably gathered dust and debris, which means you’ll need to clean them to hear the audio in the best condition and to avoid damaging your cassette player.
That’s why the 20-year veteran experts here at Capture put together this step-by-step guide on how to clean a cassette tape. That way you can ensure the songs, voices, and memories on your audio cassettes last forever, especially if you convert the cassettes to CD or digital download.
Keep reading to learn why cleaning old cassette tapes is important, how to prepare them for effective cleaning, and three step-by-step methods for cleaning your cassettes. Plus, we included other troubleshooting and maintenance tips!
Why Is Cleaning Cassette Tapes So Important?
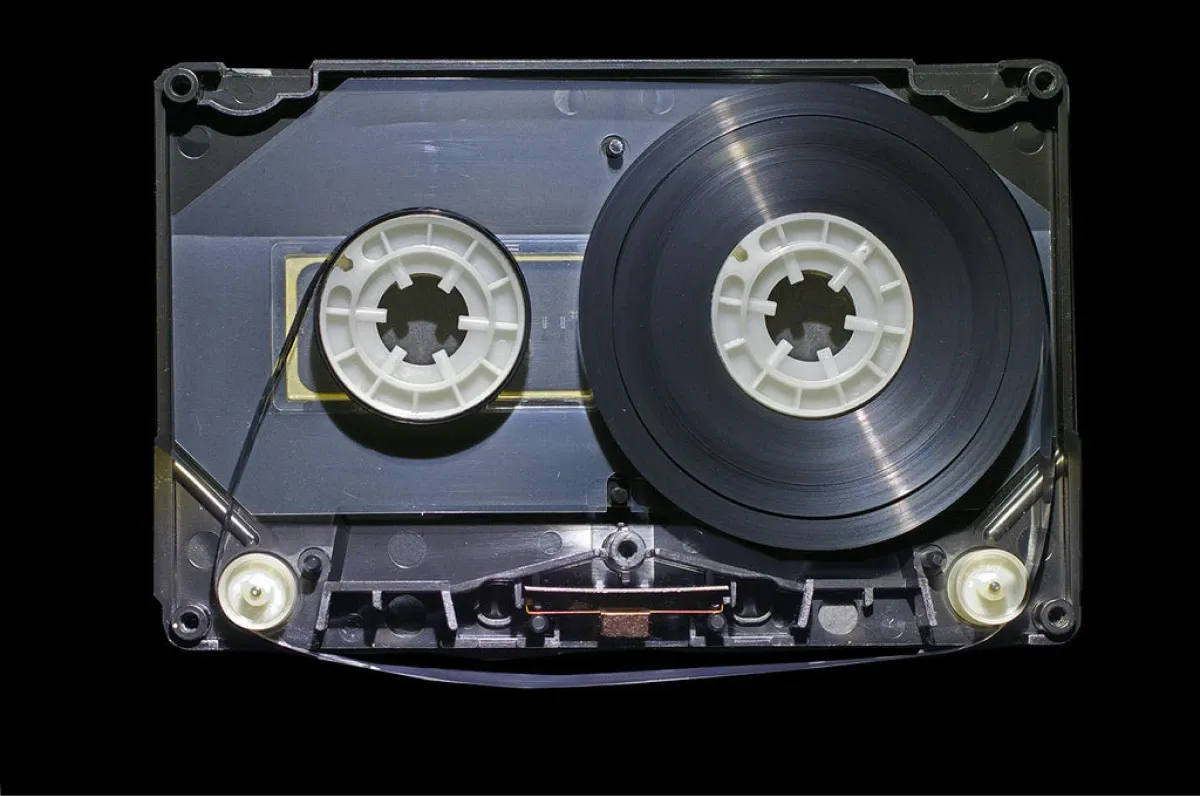
Analogue recordings are a little sensitive to dust, grime, and debris, which means that cleaning them ensures that you get the best audio sound quality possible out of them. In addition, debris and dust could come off your audio cassettes during playback and damage your cassette player tape deck.
By thoroughly cleaning your cassette tapes, you prevent damage to any cassette players, ensure the highest audio quality, and even prevent further issues that could deteriorate the audio altogether. For example, debris can cause magnetic tape to come off the spools, become tangled, or tear. Then, you’ll have to detangle it, splice it, and repair it, if that will even be possible at this point.
While damage to a cassette tape player might not seem like a big deal, some high-end iconic tape players that were popular during the early 80s or late 70s are quite expensive. For example, an authentic original Sony Walkman can cost thousand of Hong Kong dollars.
Cleaning importance doesn’t just go for audio cassettes, but the same reasons apply to VHS tape repair and maintenance. That’s because both analogue formats use magnetised iron oxide tape to store audio or video signals and keeping them clean will ensure they retain the charge and play as originally intended.
Preparing for Cleaning
Before you start cleaning tapes, you need to make sure you have all the right materials. Before you get the materials for cleaning old cassettes together, you should also make sure you have plenty of room by cleaning a workplace. This will ensure you have enough room for cleaning cassettes, which means less stress and frustration.
Here’s what you’ll need for cassette tape cleaning methods 1 and 2:
- Isopropyl alcohol (90%) (Method 2 only)
- Q-tips or cotton balls
- Pencil or pen
- Room temperature water (Method 2 only)
- Microfiber cloth
Methods for Cleaning Cassette Tapes
This step-by-step cassette tape cleaning guide covers the three best methods for cleaning old tapes including dry cleaning, wet cleaning, and using a professional cleaning service. This tape guide will work for all audio cassette types including blank TDK, Philips, and BASF cassette decks.
Method 1: Dry Cleaning
While this is the fastest and easiest DIY cassette tape cleaning, it is also the least effective. That being said, we recommend using it often to keep your cassette tapes clean and in good condition.
- First, you’ll want to clean the exposed portion of the magnetic tape. Do this before playing, winding, rewinding, or fast-forwarding the tape at all if the tape hasn’t been played in a while. That’s because this portion of the tape is most exposed and most likely to have grime and debris. Simply use the microfiber cloth in small circular motions to carefully clean that portion of the tape.
- Rewind (or fast-forward) the tape all the way to the beginning using a pencil or pen inside the tape hub. Make sure that you don’t overtighten at the end.
- Clean the exposed portion of the tape. Then, wind until new tape appears and clean that portion of the tape. This should be about 1.5 pencil rotations.
- Repeat step 3 all the way until the end of the tape path.
- Rewind the tape all the way. Then, use a cotton swab or Q-tip to clean out the crevices on the outside of the case.
- That’s it, your tape should be clean! However, if there is a build-up of significant dust or grime, then method 2 is more thorough.
Method 2: Wet Cleaning
This is the best method for cleaning cassette tapes at home, but you need to make sure that you follow safe cleaning techniques for cassette tapes, otherwise, you could end up damaging your audio cassette tapes. Plus, it is more time-consuming because you have to use liquid before cleaning with a microfiber cloth.
- First, you’ll want to clean the exposed portion of the magnetic tape. Do this before playing, winding, rewinding, or fast-forwarding the tape at all if the tape hasn’t been played in a while. That’s because this portion of the tape is most exposed and most likely to have grime and debris. Wet a Q-tip or cotton ball with rubbing alcohol. Then, use light pressure and circular motions to clean the tape. Wait until it is thoroughly dry before using a microfiber cloth the same way to complete cleaning for that portion of the tape.
- Rewind the tape all the way to the beginning using a pencil or pen inside the tape hub. Make sure that you don’t overtighten at the end.
- Clean the exposed portion of the tape following the method in step 1. Then, wind until new tape appears and clean that portion of the tape following the same method again. This should be about 1.5 pencil rotations.
- Repeat step 3 all the way until the end of the tape path.
- Use microfiber clothes to clean the entire exterior of the tape. If there is dust and grime in the crevices, then you can also use a Q-tip to clean out those places.
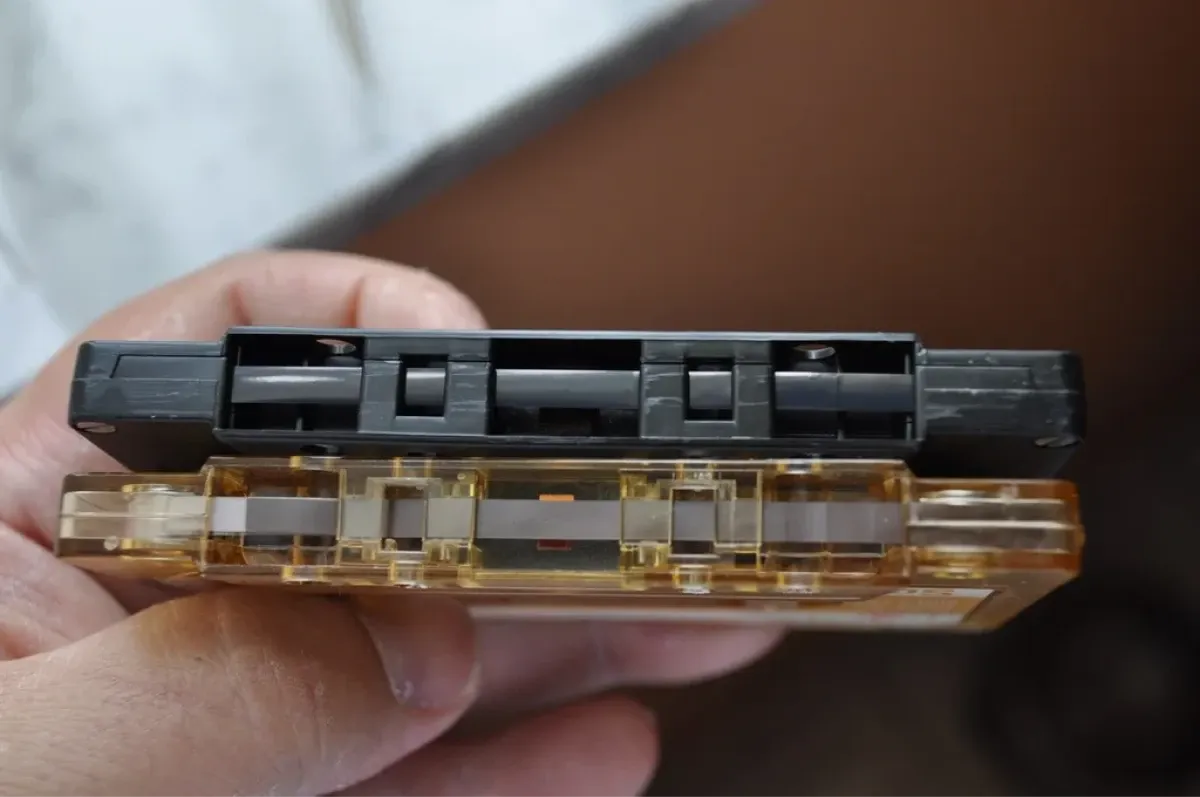
- Finally, unscrew the cassette case, especially if you notice grime inside of the tape.
Use the cotton swab with rubbing alcohol to clean the rubber pinch rollers on the edges and the metal capstan, erase tape head, record tape head, and playback head. - Reattach the case around the tape reels.
- Now your tape heads, magnetic tape reel, and entire cassette should be thoroughly clean!
Method 3: Professional Cleaning
The next method is to use a professional cleaning service. Since video restoration is similar, some places that recycle VHS tapes or offer VCR systems for sale may also clean audio cassettes.
In many cases, your best bet is to find a local shop or store that specialises in these types of analogue media, but there are online options as well. They will not only repair the case and tape, but also include a digital copy of your audio with noise reduction, audio enhancement, track separation, track naming, and compression.
While using a professional service means you get the best cleaning available for your audio cassette collection and some even specialise in restoring cassette tape sound quality, you will pay more for these types of services. Plus, it might take a few days or even weeks to get your cassette back.
That being said, if you don’t mind spending more and waiting a little longer, it can be a good choice, especially for the dirtiest cassettes. This also might be a good idea before you turn audio cassettes into CD or DVD.
Best Practices for Cleaning Cassette Tapes
When removing dirt and dust from cassette tapes, it’s important to follow best practices to ensure you don’t end up damaging them or contaminating the interior. Here are some of the best practices to keep in mind.
First, as mentioned in methods 1 and 2, clean the exposed portion of the tape before winding it at all. That way you never get the dust on the dirtiest portion of the tape onto other components or wind it into the tape reel.
Second, always wash your hands before handling the cassette tapes. This prevents further contamination as well. In fact, for even more protection for your valuable cassettes, wear latex gloves. Also, keep the area and room as clean as possible.
Just as it’s always important to follow best practices for storing film, photos, and anything else valuable, make sure you store audio cassettes in a cool, dry place at all times. This will help you maintain their condition and prevent warping, demagnetization, and other problems.
Finally, if you are winding your cassettes with a pencil or pen, make sure you do it slowly. While it can be tempting to rush this time-consuming portion of the process, doing so can rip or bend the magnetic tape and compromise the audio. To ensure high-quality results, take your time and be patient when figuring out how to clean a compact cassette tape.
Troubleshooting Common Issues
Sometimes issues occur that require some more detailed troubleshooting. Here are some tips for dealing with the most common issues like stuck tapes, tangled tape, or damaged cassette shells.
When the oxide on the tape starts shedding or moisture in the air causes the tape to become sticky, the tape can stick to the pinch roller. When this happens, you’ll not only want to clean the tape using our Method 2 above, but you’ll also want to use a demagnetizer cleaning fluid and tape head cleaner on your cassette recorder or player before trying to play any more cassettes.
If the tape becomes tangled or wrinkled, that’s a major problem and unfortunately, you’ll have to remove the wrinkled portion of the tape. Cut the damaged portion out with scissors, then straighten the ends on a flat surface. Use cellophane tape to connect the two sides as close together as possible without overlapping. This splices them together to save audio from the non-damaged portion of the cassette.
If the case of your cassette tape is warped, cracked, or otherwise damaged, then you’ll have to replace the shell. You can buy empty audio cassette shells online on Amazon or other stores. When switching them out, you need to be extremely careful not to damage the interior workings of the tape that you are switching over, but other than that it is pretty easy to do.
Maintaining Clean Cassette Tapes
After you finish the process of how to clean a cassette tape, following proper maintenance is good for preventing damage while cleaning cassette tapes and after the cleaning is done. Make sure you store them properly in a cool, dry, dark place if possible.
Additionally, you’ll want to clean them about once a year. This will ensure they don’t become damaged over time so that you lose the audio altogether. Even if you only do a light cleaning using the dry method above, it’s better than nothing and will help you prevent dirt buildup. You can also keep cassette tapes in shoebox or other covering to reduce dust and debris.
The same goes for your cassette players. Store it in good condition and clean the cassette tape heads occasionally. This will prevent damage to the tape recorder or player as well as any tapes you play with it.
Any analogue media whether it’s audio cassette tapes or VHS tapes only lasts so long. In general, when you store and care for them properly, audio tapes will last around 30 years. Because of that, it’s a good idea to copy cassettes to digital before it’s too late.
Your Guide to Cassette Tape Maintenance and Digital Preservation
Now you know how to clean a cassette tape to ensure the best audio quality and prevent further damage. Make sure you clean them often and do so thoroughly to prevent excessive grime or damage. In addition, if possible, convert them into longer lasting or durable audio formats like CD or digital files.
Capture can convert audio cassettes, and preserve your videotape, 16mm, 8mm, and Super 8 film reels, and photos in digital format. Click here to learn about our videotape digitisation services!
Loading...