A Complete Guide to Convert DVD To Digital
Converting your DVD to digital format brings a host of benefits, including preservation and convenience. In this comprehensive guide, Capture will walk you through the digitisation process, including the necessary equipment and different conversion methods, and also recommend the ideal file formats for various devices and purposes.
Why need to digitise DVDs?
By digitising your DVDs, you can ensure their preservation and enjoy numerous benefits. Below are some common reasons:
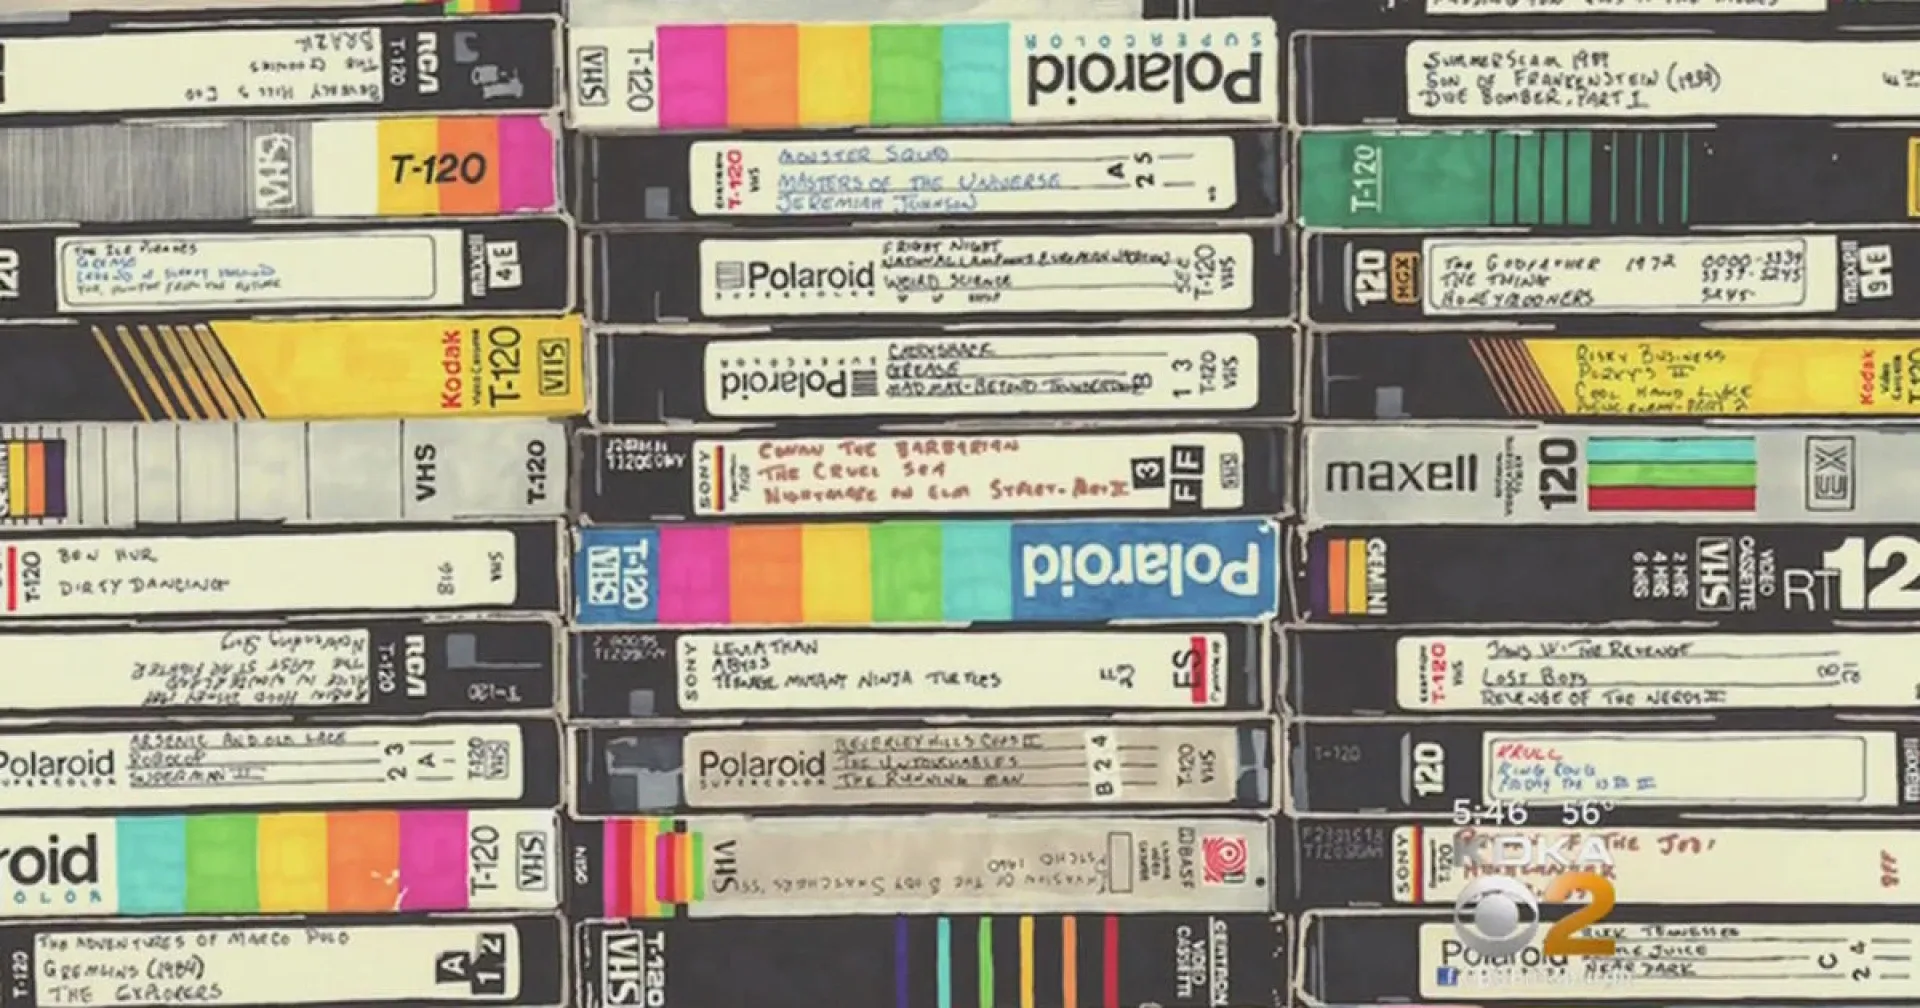
- Degrading Over Time: DVDs tend to degrade with time, leading to a loss in video quality. By digitising your DVDs, you can preserve your precious memories and prevent degradation, ensuring long-term enjoyment.
- Save Physical Space: Free up your physical space at home for bulky DVD cases and shelves. You can store your entire collection on a hard drive or in the cloud.
- Better Organisation: With digital files, you can easily search for specific videos, create custom playlists, and organise videos based on years, people, or any other criteria you prefer.
- Editing and Sharing: You can edit your videos using various software tools, enhancing them with effects, trimming scenes, or creating compilations. Additionally, you can share your precious memories with friends and family online.
What do you need to digitise DVDs?
Before digitisation, let’s gather the necessary equipment first.
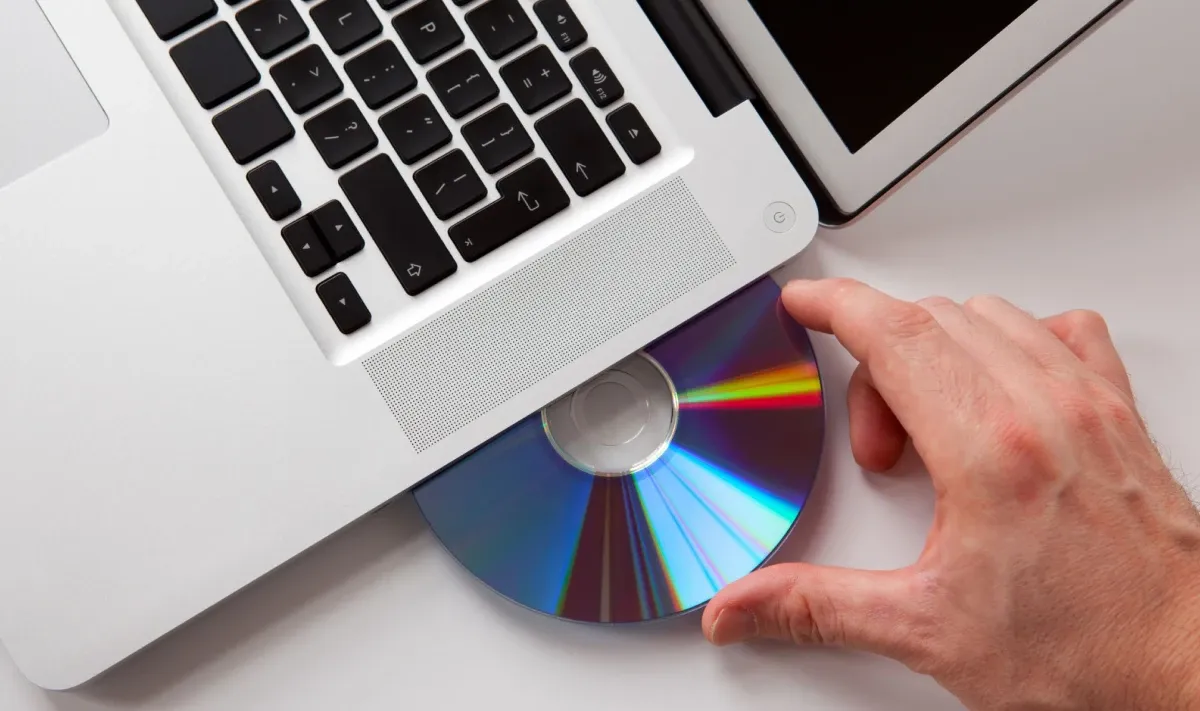
1. A Computer with a DVD/Blu-ray Drive or an External Drive
To digitise your DVDs, you'll require a computer with a built-in DVD/Blu-ray or an external DVD drive. This allows you to read the contents of your DVDs and convert them into digital files. If your computer already has an optical drive, you're all set. However, if you're using a newer machine or laptop without a dedicated disc drive, you can easily purchase an external drive to fulfil this requirement.
2. DVD Copying Software
Next, you'll need DVD copying software to extract the content from the discs and convert them into digital files. Various open-source software options are available online, both free and paid versions.
3. An External Hard Drive
It is highly recommended to prepare an external hard drive to store your digitised DVDs. Opting for an external hard drive with sufficient storage capacity allows you to safely store and access your digitised DVDs, providing a reliable solution for preserving and organising your videos.
How to digitise DVDs?
There are multiple methods available to digitise your DVDs. Here are three popular approaches:
1. DVD Ripper Apps
DVD ripper apps are software programs specifically designed to extract the content of DVDs and convert them into digital formats. These apps offer a range of features and customisation options. Some popular DVD ripper apps include HandBrake, MakeMKV, and WinX DVD Ripper.
| Pros: | Cons: |
|
|
2. Digital Converter
Digital converters are devices that connect to your computer and directly transfer the content of the DVD into a digital format. They are generally easy to use and don't require extensive technical knowledge.
| Pros: | Cons: |
|
|
3. Digital Service (Best!)
If you prefer a hassle-free option, you can consider using a digital service like Capture. Capture specialises in digitising DVDs, ensuring high-quality results, saving time and effort. Simply drop off your DVDs to Capture, and we will handle the entire conversion process for you. Your digitised videos will be conveniently delivered directly to your Google Photo Album. Click here to learn more about Capture’s services.
Steps to digitise DVDs yourself
If you choose to digitise your DVDs yourself, here's a step-by-step guide to help you through the process:
Step 1: Download the App
Start by downloading and installing the DVD ripping software of your choice. Make sure to select a reliable and reputable software that suits your needs.
Step 2: Insert DVD
Insert the DVD you want to digitise into your computer's DVD drive or the external DVD drive.
Step 3: Select File and Output Quality
Launch the DVD ripping software and select the desired output file format, quality settings and the folder to store. Consider the device or platform on which you plan to play the digital files when choosing the appropriate file format and quality.
Step 4: Load the DVD and Start the Conversion
Once you've configured the settings, click "Run" or a similar button in the software to load the DVD's content. The software will then begin ripping the DVD and converting it into a digital file format of your choice.

Which DVD file format shall I choose from?
The choice of DVD file format depends on the intended use and playback device. Here are a few recommendations:
- Best Quality: If you prioritise preserving the original quality of the DVD, consider formats like ISO, VIDEO_TS folder, or MPEG2. These formats offer high-quality video and audio, but the file sizes can be larger.
- Best Quality and Smallest Size: For a balance between quality and file size, formats like H.264 or H.265 provide efficient compression while maintaining good video quality. These formats are ideal if you have limited storage space.
- For Mobiles: If you plan to watch digitised DVDs on mobile devices, consider formats like MPEG-4, H.264 or MOV for Apple users. Different devices support different formats. Make sure to choose the format that is compatible with your devices.
- For TV: If you intend to play the digital files on a TV, formats like AVI or MPEG-4 are commonly supported by most TVs. Check your TV's specifications to determine the compatible formats.
Loading...