How to Create a Memory Wall of Family Photos at Home
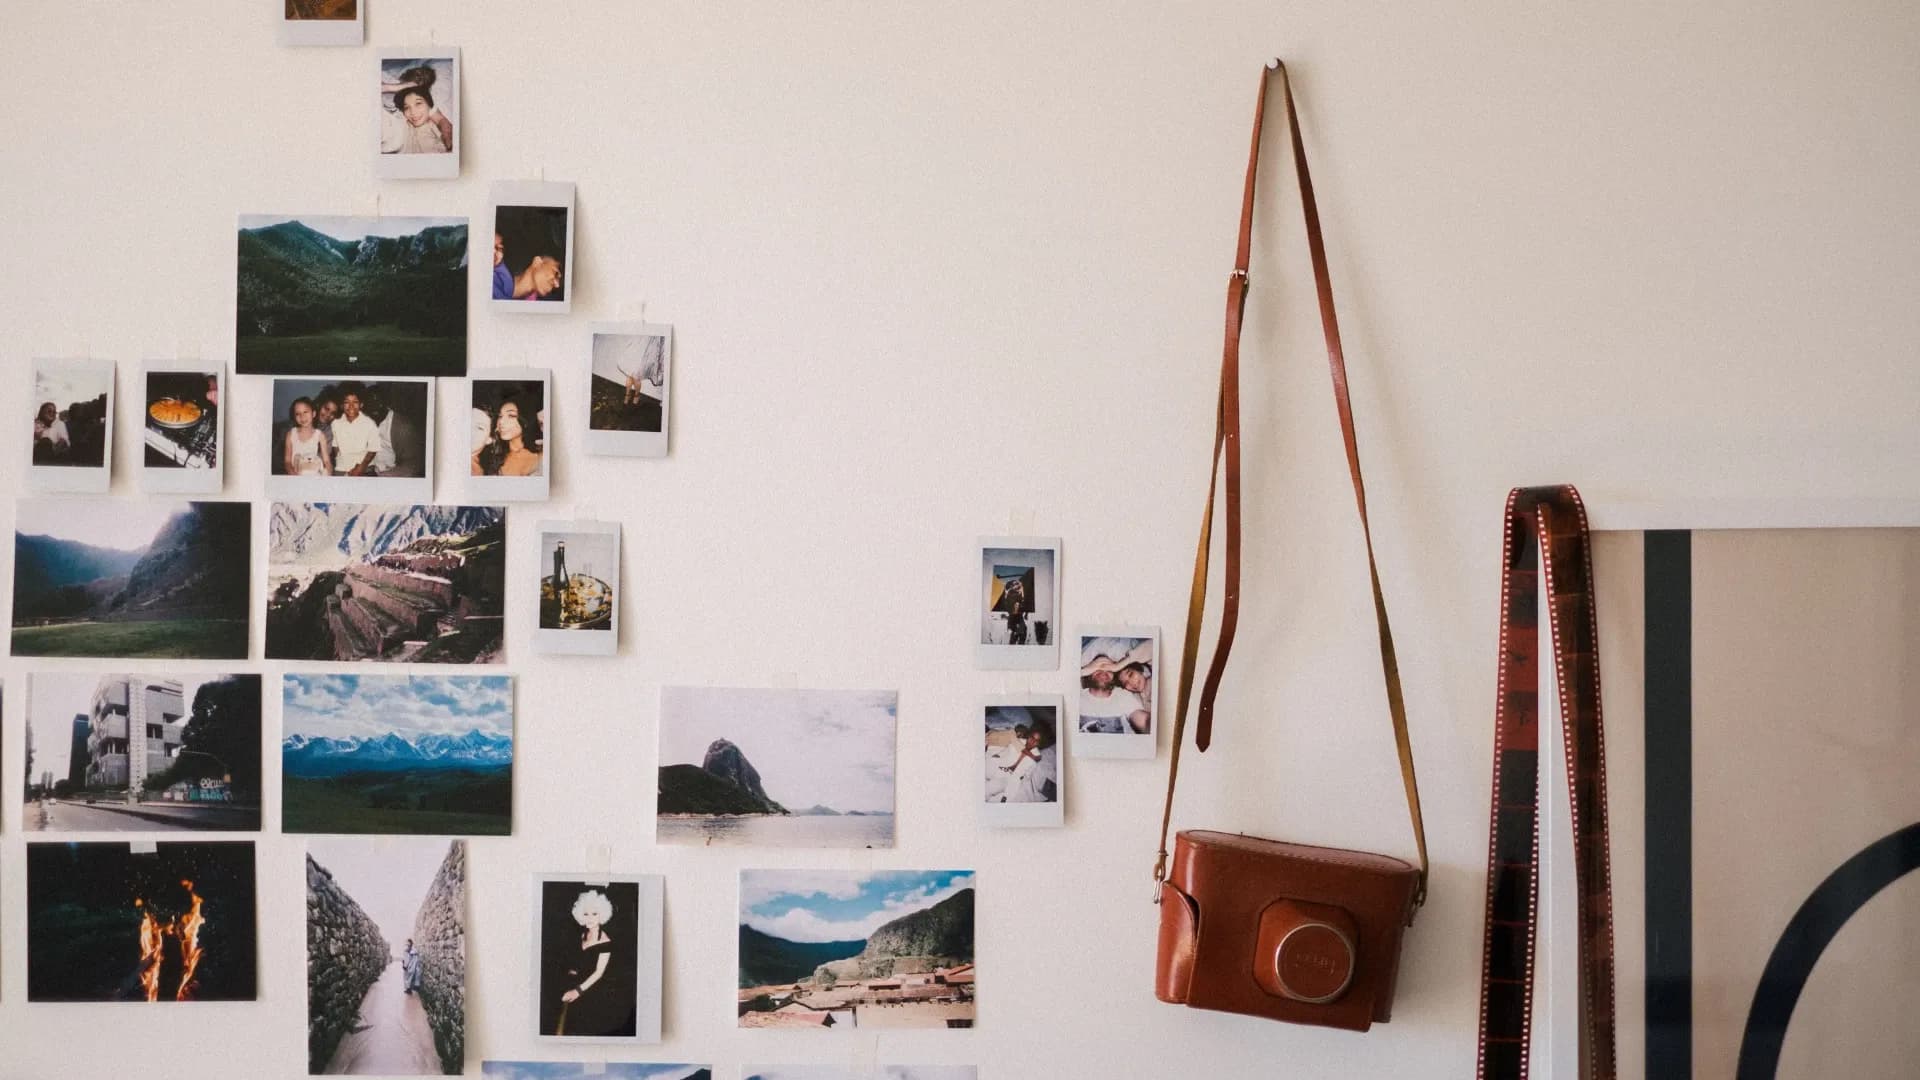
Most family photos in Hong Kong live in two places: a phone nobody scrolls back through, and an album in a cupboard nobody opens. A memory wall puts them where you actually see them, every time you walk down the corridor or sit down to dinner. It doesn't need a big flat or a designer. It needs a bit of planning on paper first, the right photos, and a hanging method that suits your walls and your landlord. Here is how to do it, step by step.
Step 1: Find the right wall
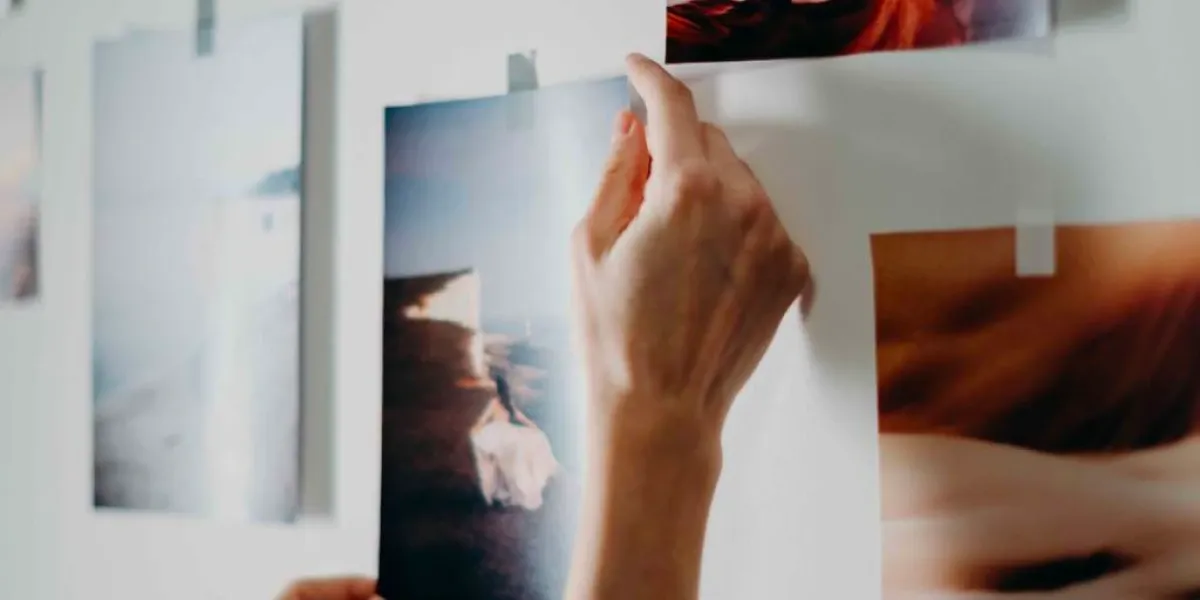
In a typical Hong Kong flat, the largest empty wall is often not the best one. Look for a spot you pass or face every day:
The corridor to the bedrooms: narrow, but long, and perfect for a single row of frames at eye level.
Above the sofa or dining table: a natural focal point where guests will look too.
Beside the front door: a small cluster of four to six frames that greets you when you come home.
Before you commit, check three things that matter more here than in most cities:
Damp. Avoid outside walls that sweat in spring, the area behind a bathroom, or anywhere near the kitchen extractor. Moisture trapped behind a frame is how mould starts on a print.
Sun. Direct sunlight through a west-facing window fades photos in a few years. Pick a wall that gets light but not sun.
The wall itself. Many flats have concrete walls that need a drill rather than a nail, and some tenancy agreements don't allow holes at all. That shapes which hanging method you choose in step 4.
Step 2: Choose a style
Decide on the overall look before you choose a single photo. There are two main approaches:
Grid: identical frames in neat rows and columns, with equal gaps. Calm and tidy, and well suited to a small space or a corridor.
Salon style: frames of different sizes clustered around one or two larger pieces. More relaxed and easier to add to over time.
Then settle a few rules to keep it looking intentional: one frame colour (or two at most), all black-and-white or all colour, or matching mounts throughout. Save pictures of walls you like from design magazines or social media and look for what they have in common.
Step 3: Gather and prepare your photos

This is the fun part. Pull out the albums and pick photos that tell your family's story across generations: grandparents' wedding portraits, a school class photo, the first family trip to Ocean Park, a recent Lunar New Year gathering.
Choose one to three anchor photos to print larger. These set the centre of the wall, and the smaller frames gather around them.
Don't hang your originals. Old prints are one of a kind, and a wall exposes them to light, heat and humidity every day. Instead:
Have the originals scanned at high resolution. Prints stuck in old albums can be captured in place, without peeling them off.
Print copies at whatever size each frame needs. A good scan lets you enlarge a small 1980s print to fill an A3 frame.
Put the originals back into storage: an air-tight box with silica gel, or a dry cabinet, away from the floor and windows.
Faded or colour-shifted photos can be corrected during scanning, so a pinkish print from the 70s comes back with natural colour before it ever reaches the frame.
Step 4: Plan on paper, then hang

The safest way to get the layout right is to test it before making any holes:
Lay all the frames on the floor and move them around until the arrangement feels balanced. Take a photo of it.
Trace each frame onto kraft paper or old newspaper and cut out the shapes. Mark where the hook or wire sits on each one.
Tape the paper shapes to the wall with masking tape. Live with them for a day or two and adjust.
Keep gaps even, usually around 5 to 8 cm between frames, and hang the centre of the group at roughly eye level.
Drill, nail or stick through the marks on the paper, then tear the paper away.
Hanging options for Hong Kong flats
Drill and wall plugs for concrete. The most secure option for heavy or glass-fronted frames.
Adhesive strips and hooks for renters. Follow the weight rating strictly and press firmly; in very humid weeks the glue may lose some grip, so keep heavier frames off them.
Picture ledges or a shelf. Two or three screws hold a ledge where you can lean and swap frames freely. Great if you like to change things often.
Picture rail and hooks. One rail near the ceiling lets you hang and move frames on cords with no further holes.
Keeping the wall looking good
Use frames with a backing board and, if possible, UV-filtering glass.
Run a dehumidifier in the wet months and check the back of frames once a year for spots of mould.
Because you hung copies, you can reprint any photo that fades or gets damaged, and swap pictures in as the family grows.
No wall to spare?
If drilling is out or space is tight, a digital photo frame can show hundreds of family pictures on a shelf, and you can change them whenever you like.
Start with the scans
Every memory wall begins with good copies. Capture HK scans prints and album pages at high resolution, with colour restoration on our Gold and Diamond plans, so your old photos are ready to print at any size while the originals stay safe. See the plans on our photo digitisation page, or have a look at The Frame if a digital display suits your home better.
Loading...