How to Print Photos? A Quick & Easy Guide 2026
Printing your favourite photos can be simple, whether you have a printer at home or not.
If you have a printer, all you need is some photo paper and the right setup to print high-quality photos from your iPhone, Android, or computer.
If you don't have a printer, there are plenty of local printing options. Many stores offer professional prints, canvas prints, or even photo books.
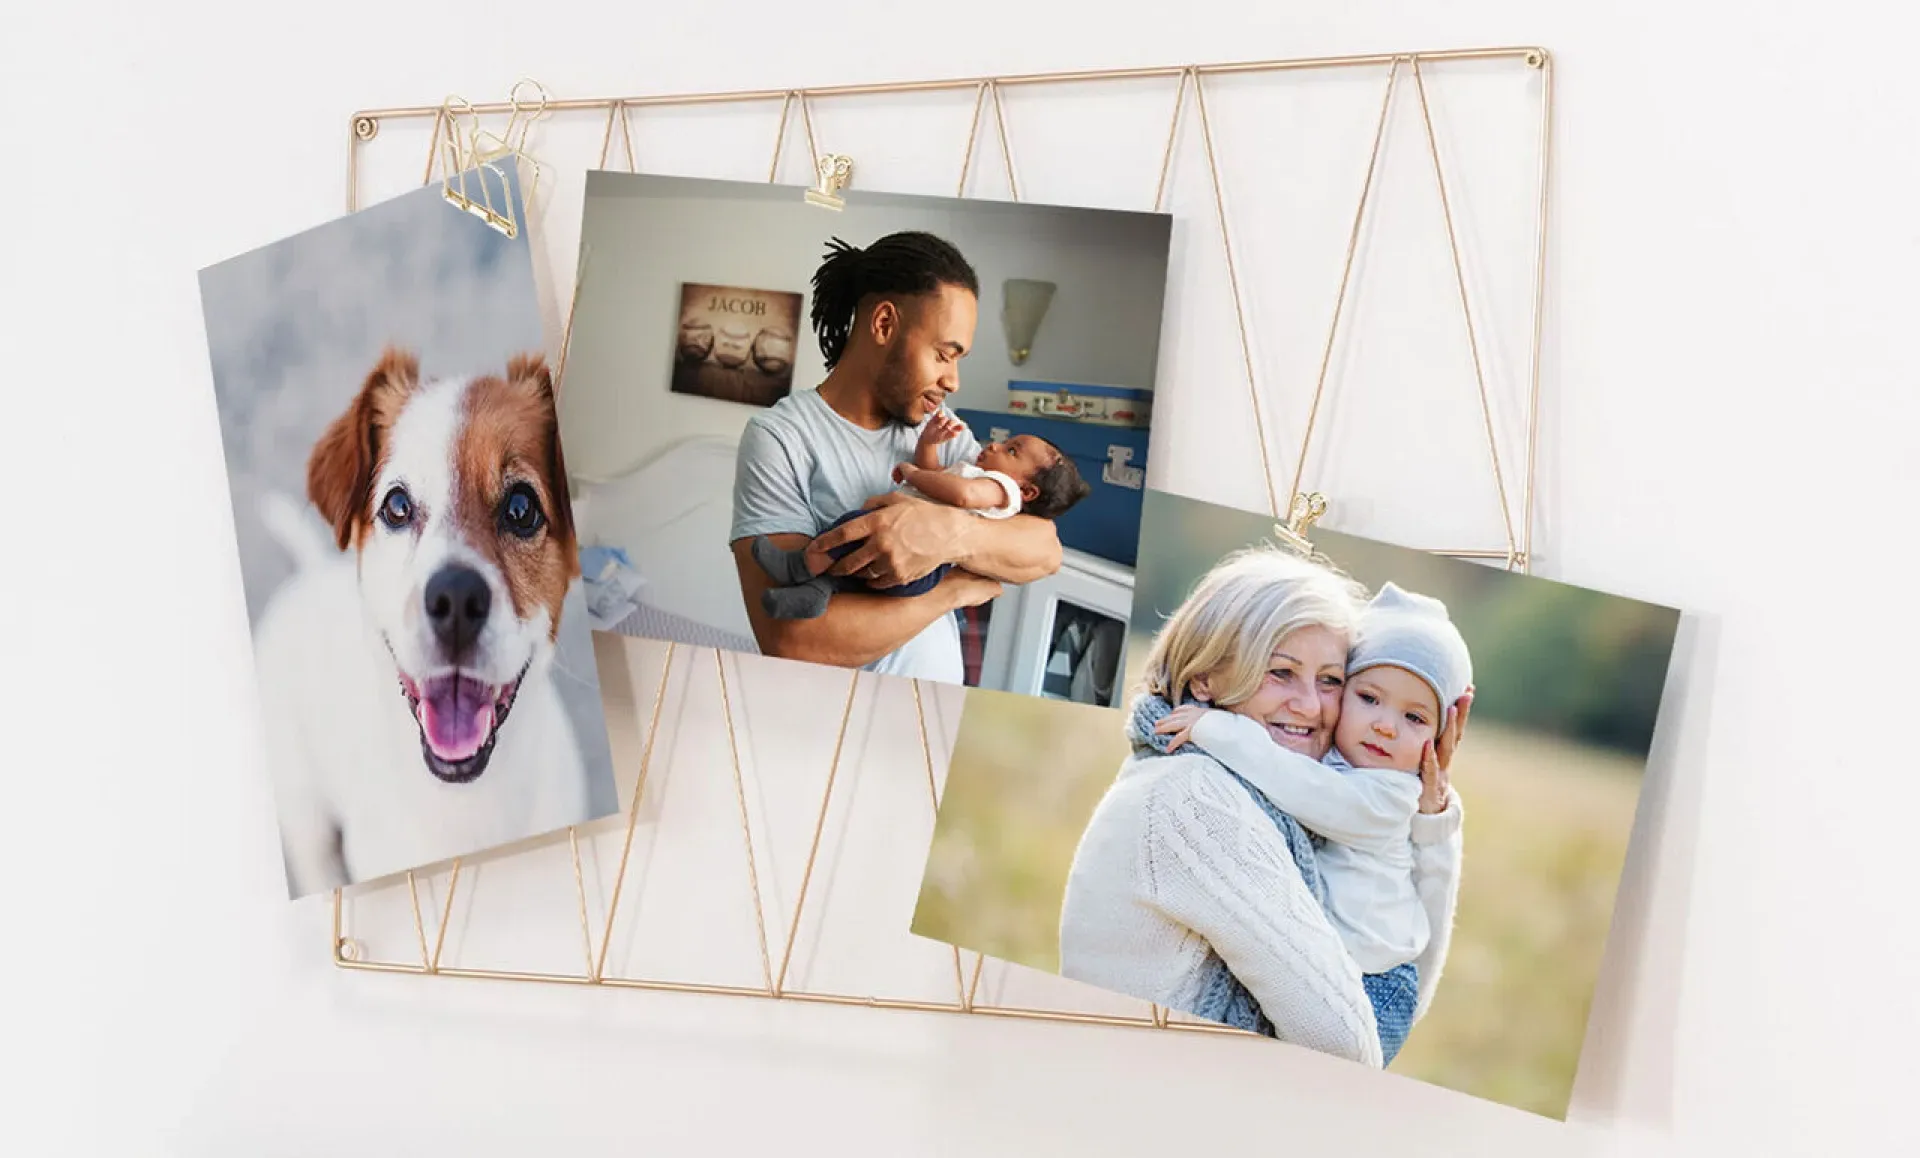
Whatever you choose, this guide will help you pick the best way to turn your digital photos into something you can hold.
How to Print Photos Without a Printer
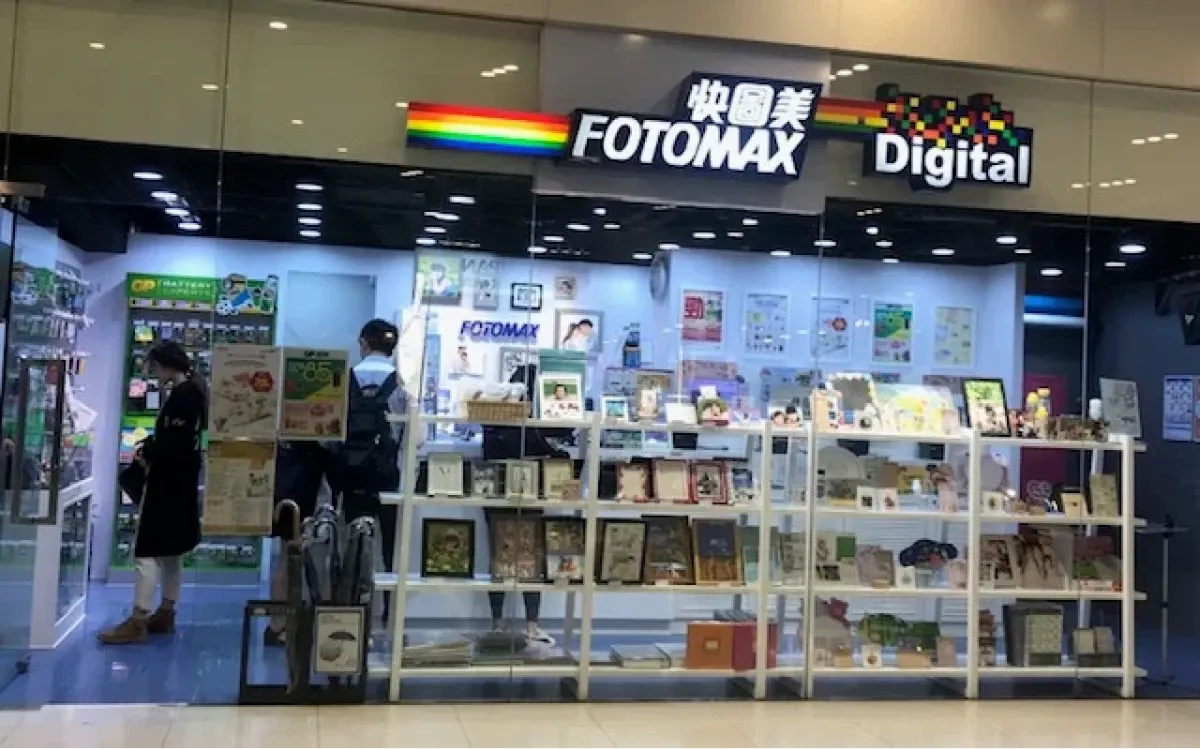
Printing photos without a printer at home is easier than ever. Stores like Fotomax, e-print, 7-eleven, allow you to print your favourite photos with just a few taps.
For fast service, e-print offers same-day pickup and a variety of print sizes. If you need larger prints, like posters or canvas, e-print is ideal.
Pro tip: Before printing, consider increasing the brightness of your photos slightly—especially if using a store kiosk. It helps ensure a high-quality photo with the right colour and contrast.
How to Print Photos With a Printer at Home
To print high-quality pictures at home, you’ll need a few key pieces of equipment. Here’s a checklist to help you get started:
Printer
To print pictures at home, you'll need a reliable printer designed for photo printing. From the options available, these three provide excellent performance and value:
- Canon imagePROGRAF PRO-300: Ideal for professional-grade prints with exceptional colour accuracy.
- Epson EcoTank Photo ET-8500: Offers excellent print quality with low running costs thanks to its refillable ink tank system.
- Canon PIXMA TS7720: A budget-friendly option that delivers very good photo quality for casual use.
Each of these inkjet printers is specifically designed to produce vibrant, detailed photos, offering a balance of print quality and features to suit different needs and budgets.
Photo Paper
The paper you choose affects how your photos look when printed. Different types of photo paper can highlight various aspects of your images, so it's good to match your paper to your subject and where you'll display it.
Here are key factors to consider when selecting photo paper:
- Printer compatibility: Use inkjet paper for inkjet printers, laser paper for laser printers
- Paper weight: 200-280 GSM for everyday prints, 300+ GSM for professional prints
- Size: 4x6" for snapshots, 8x10" or larger for framed prints
Finish: Glossy for vibrant colours, matte for less reflection, satin for a balance
Before a big project, test sample packs to find the best paper for your printer and style. Always adjust your printer settings to match your chosen paper type for optimal results.
Editing Software
Before printing, a quick edit can make your photos pop with more vibrant colours and sharper details. Even simple adjustments can make a big difference. For example, slightly increasing the saturation can bring out the richness in your images, making them more eye-catching when printed
You don't need fancy software for this. Most smartphones have built-in editing tools that let you adjust saturation with just a slide of your finger. Here are some popular mobile editors to consider:
- Google Photos: Free, easy-to-use, with AI-powered enhancements
- Snapseed: Powerful free editor with professional-grade tools
- VSCO: Known for its stylish filters and basic adjustments
- Lightroom Mobile: Advanced editing capabilities, some features require subscription
Give themit a try—you might be surprised at how much it can improve your prints!
Image Resolution
The quality of your printed photos depends a lot on the resolution of your digital images. Higher resolution generally means sharper, more detailed prints. But don't worry – you don't need to be a tech expert to get good results.
Here’s how you can improve your print quality:
- Check the PPI: Look for the image’s resolution in your photo editor. Try to keep it around 200 PPI for good results.
- Don’t stretch small images: Enlarging small photos can make them look blurry. Use a bigger image to start with for better quality.
- Use high-quality photos: The better the quality of the original photo, the better it will print.
How to Print Photos on Windows
Windows users can print directly from the default Photos app with a few extra options:
- Open your photo in the Photos app and click the Print icon (or press CTRL + P).
- In the print dialogue:
- Select your printer
- Choose paper size and type
- Set orientation and quality
- Adjust any other relevant settings
- Click Print to send your photo to the printer.
How to Print Photos on macOS
If you're using a Mac, here's how to print photos through the Photos app:
1. Open your photo in the Photos app and select File > Print (or press Command + P).
2. In the Print dialogue:
- Choose your printer
- Select paper size from the "Paper Size" menu
- Adjust layout, borders, and quality settings as needed
3. For custom sizes:
- Choose "Custom" from the "Print Size" dropdown
- Enter desired dimensions and unit of measurement
4. Click Print to complete the process.
How to Print a Photo on Android
If you're on an Android device, printing is a breeze. Just follow these steps:
- Open the Photos app and find the picture you want to print.
- Tap the More icon (three vertical dots).
- Choose Print from the menu.
- Pick your printer, adjust the paper size, and hit Print.
How to Print Photos on iOS and iPadOS
Printing from your iPhone or iPad? Here’s how to do it:
- Open the Photos app and select the picture you want to print.
- Tap the Share button at the bottom of the screen.
- Scroll down and tap Print.
- Choose your printer and set your options, then tap Print.
Choosing the Right Paper Size
Select a paper size that suits your photo and intended use. Some standard sizes for photo printing include:
- Standard photo print (similar to traditional 4x6 inch prints)
- Square format (popular for social media inspired prints)
- Enlargements (for framing or poster-sized prints)
- US Letter / A4 (full page prints)
Tip: Check your printer's manual for supported sizes, and remember to match the paper size in your settings to the actual paper you're using.
Advanced Photo Editing Tips for Professional-Quality Prints
When you're ready to print your photos, a bit of pre-editing goes a long way. Adjusting things like brightness, contrast, or sharpness can make your images pop on paper. Even simple edits can take a photo from good to great, and you don’t need fancy tools to do it.
Here’s how to prepare your photos for printing:
1. Use Free Tools like Google Photos
Google Photos is great for quick edits. You can adjust brightness, crop, and fix colours right from your phone. Open the app, select your photo, and tap the edit button to get started.
You can also use Google Photos to access advanced AI-powered features. Try the "Auto" feature for an instant overall improvement. For portraits, use the "Portrait" tool to blur backgrounds and create a professional look.
2. Crop and Resize Your Images
If you want the best results, make sure to crop out unnecessary parts. This helps frame your subject better and can improve the overall composition of the photo. Tools li lets you easily adjust photo size, whether for social media squares, large art prints, or smaller keepsake photos.
Here's how to crop and resize your images in Canva:
- Upload and select your image in Canva.
- To resize, click and drag the resize handles on the corners of the image.
- For exact dimensions, click "Position" on the toolbar, then enter pixel values under "Advanced."
- To crop, click "Crop" on the editor toolbar.
- Select a crop aspect ratio if desired (e.g., 1:1 for squares, 3:2 for standard prints).
- Drag the crop handles to adjust what part of the image is visible.
- Click "Done" or click outside the image to finish.
Tips:
- For portraits, keep the face in focus.
- For landscapes, try aligning the horizon with the top or bottom third.
- For food photos, crop tightly to showcase details.
- Use "Lock Aspect Ratio" to maintain proportions when resizing.
3. Adjust The Resolution for Printing
Ensure your photo resolution matches the size of the print. Lower resolution images might look fine on screen but can appear blurry or pixelated when printed. For larger prints or banners, aim for at least 150 dpi (dots per inch). For smaller items like invitations or postcards, 300 dpi is ideal.
To adjust your photo's resolution for printing:
- Open your photo in an editing app like Google Photos.
- Look for the print or export option.
- Select your desired print size.
- Set the quality:
- At least 150 DPI for larger prints
- 300 DPI for smaller items - If the preview looks pixelated, try a smaller print size.
- Save these settings before printing.
These steps will help ensure your photos look crisp and clear when printed.
4. Don’t Forget to Save in The Right Format
When you've finished editing, save your photos in the right format for printing:
- In your editing app, look for the "Save" or "Export" option.
- Choose either .jpg or .png as the file format:
- Select .jpg for most photo prints
- Use .png if you need to preserve transparency - If given the option, set the quality to "High" or at least 80%.
- Before overwriting, save as a new file with a different name (e.g., "photo_print_ready.jpg").
- Store this new version in a separate folder for your print-ready images.
- Keep your original file as a backup.
- If unsure about your edits, use the "Share" function to send the image to a friend for feedback before finalising.
Following these steps ensures you have a high-quality version for printing while preserving your original photo.
Creative Ways to Print a Picture
If you're looking to go beyond traditional photo prints, you can explore some creative ways to bring your memories to life. Websites like Gelato and Printify let you print images on various items to keep your favorite photos close at hand. Here are a few ideas to help you get going:
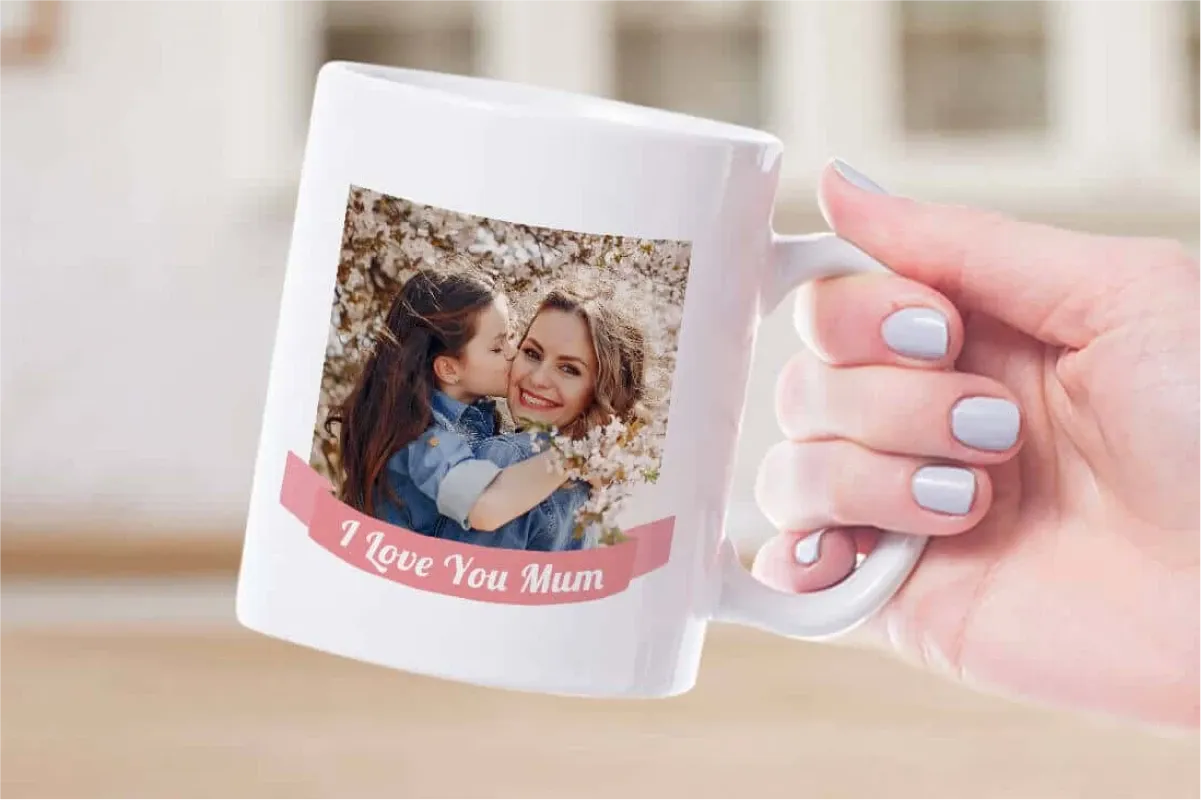
Print on Mugs
Custom mugs with your photos are a great way to make gifts for friends or family. Whether it’s a birthday, holiday, or just because, a personalised mug adds a special touch to someone’s daily routine. You can order custom mugs through websites like.
Coasters and Magnets
Turn your pictures into coasters or fridge magnets. These can make for great conversation pieces or fun gifts. You could even create a set of photo magnets from a trip or event and gift them to everyone who was there.
Canvas Prints
If you're looking to add some style to your space, printing photos on canvas can give your home a touch of elegance. Canvas adds texture and gives your photos an artistic feel. You can even mix multiple canvases for a gallery wall effect.
Metal Prints
For a modern look, try printing your photos on metal. Metal makes the colours pop with a high-gloss finish and are perfect for brightening up a space. Metal prints are also durable, making them ideal for kitchens or even outdoor areas.
The good thing about these prints is that they’re versatile and personal. You can easily turn them into unique gifts or add something special to your home.
For example, custom mugs with a favourite family photo make great birthday or holiday gifts. Coasters with pictures from a memorable vacation are perfect for housewarmings. You could even create a set of fridge magnets featuring moments from a wedding or special event—simple, yet thoughtful.
In your home, you can use canvas prints to create a family gallery wall or display a favourite vacation shot in the kitchen as a metal print. Each option adds a personal touch without much effort.
P.S. We had so much inspiration for creative prints that we might just have to write a full guide—feel free to check back after a few weeks.
Ready, Set, Print!
Printing photos is easier than ever, whether you're doing it at home or through local stores. You just need the right tools, some quick edits, and you’re ready to turn your digital photos into prints.
Try these printing methods for your next photo album, holiday card, or even as unique gifts for friends and family. It only takes a little effort to bring your memories to life in a way that you can hold onto forever.
Loading...